How to Install Laminate Countertops
DIY Countertops: 9 simple steps to install a preformed countertop
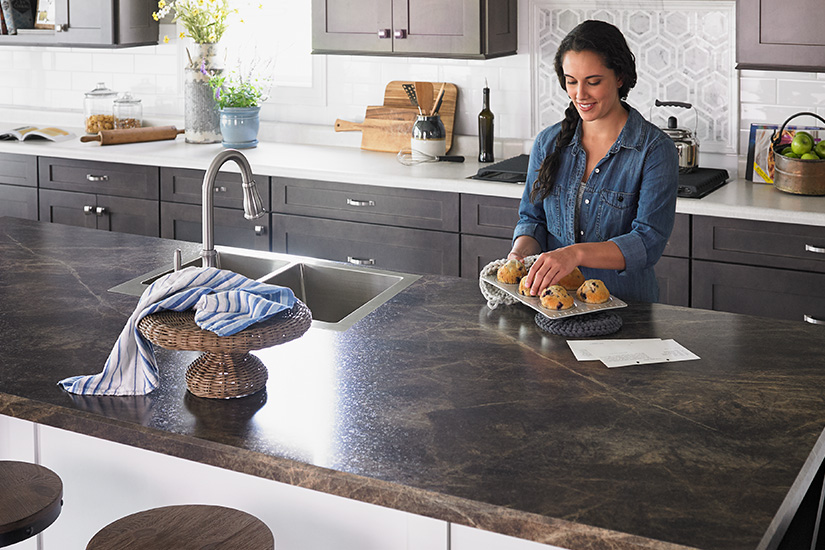
Installing laminate countertops is easier than you might think, especially with preformed models. When it comes to kitchen remodeling, installing your own countertop is an opportunity for self-expression – and money savings. To help you do the job efficiently and with style, we’ve listed the nine simple steps for installing your new countertop, as well as all the essential materials you will need.
Materials Required
Here are some essentials for a typical L-shaped kitchen countertop with a cutout for a sink or range top installation:
- Countertop sections; order standard lengths. Your dealer should be able to miter cut and machine the fastening-bolt T-slots (underside of the joint).
- Fastening bolts (for drawing miter joints tight)
- Tube of sealant (for caulking joints)
- End splash and/or end caps (kits, as required). These should be available from your dealer.
- Non-flammable contact adhesive (for fastening end caps, unless kit has pre-applied adhesive for "iron-on" method)
- White glue (for fastening "build-up" blocks)
Tools Required:
- Jig Saw
- Drill and Drill Bit
- Block Plane
- Belt Sander
- Smooth File
- Hand Laminate Trimmer with carbide cutter
- C-Clamps (for holding "build-up" blocks and end caps or splash to glue and screw)
- Safety Glasses
- Tape Measure
- Rubber Mallet
- Level
- Square
- Hammer
- Handsaw
- J-Roller
- Scriber-Compass
- Adjustable Wrench
- Screwdriver
- Sandpaper
- Caulk Gun
- Heat-Conductive Aluminum Tape
Step 1: Fitting to Length
Check for proper length. Allow desired overhang. End caps should be used on all exposed ends (end cap kits). End splashes should be used where top butts wall (end splash kit). Additional material should be allowed to scribe for a tight fit to end wall.
Step 2: Cutting the Laminate Countertop
Cover the Formica® brand laminate surface in the area to be sawed with a strip of masking tape and draw a pencil line on the tape to serve as your cutting guide. Use a fine-tooth handsaw (10 to 12 point) and always cut into the laminate surface to avoid chipping. Sand or file the cut to ensure a smooth surface.
Step 3: Buildup
Place your countertop upside down on a flat surface. Choose strips of wood thick enough to allow the countertop surface to match the front build-up. Glue strips around perimeter of countertop.
Step 4: Applying End Caps
To apply end caps, set household iron at medium heat. Iron cap onto the end of the countertop with a back-and forth motion. Let set for one minute, then tap the cap carefully with a rubber mallet. Finish trimming with a fine file, applying pressure only on the up strokes. Complete instructions are included in the end cap kit. To apply end caps using non pre-glued end caps, apply a contact adhesive to both the substrate and the laminate. Follow manufacturer's guidelines for when adhesive is ready for bonding. Roll laminate with a J-roller. Finish trimming with a fine file, applying only pressure in the up strokes. If using a Laminate trimmer with a flush trim carbide router bit, remove excess laminate and file smooth applying only pressure in the up strokes.
Step 5: Making Cutouts for Sinks or Rangetops
Always follow manufacturer's directions for Installing appliances. Place the sink or rangetop rim on the back side of the countertop, where the appliance is to be located. Mark all the way around the edge of the rim. Use a jig saw to cut the hole 1/4" to 3/8“ smaller than the line. All cutout corners should have clean, chip-free radii. Apply two layers of heat-conductive aluminum tape around rangetop cutout.
Step 6: Joining Miters
If your kitchen requires an L- or U-shaped top, precut miters should be joined at this point in the installation. Apply a bead of sealant to each mitered edge. Tighten fasteners only enough to hold them in place. Align front edges and tighten fasteners. Tap surfaces to align (use wood blocks to avoid damaging the surface). Then tighten fasteners securely.
Step 7: Scribing
The countertop can be scribed to match the wall surface. The top is provided with a scribe edge on the backsplash for this purpose. Place the top on the cabinet. Use a scriber-compass to mark the top edge of the countertop, then belt-sand or block-plane to the line. This will contour the countertop to the wall. Put top in place, check for level and stability, and then secure to cabinets with wood screws.
Step 8: Installing Sinks
You may find it more convenient to install the sink faucets, 3/8“ supply tubing and basket drain now, before dropping the sink into place. This is important if space behind the installed bowl is too tight for easy connection of plumbing fittings. All sinks must be sealed with sealant to avoid water damage to base material.
Step 9: Finishing Laminate Countertop Installation & Care
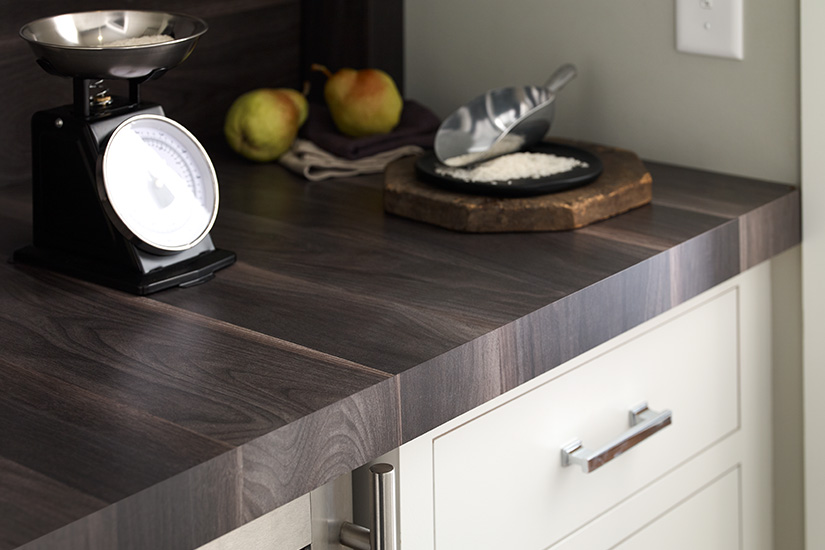
Remove excess sealant from sink area or end splash. The Formica® brand laminate surface of your new countertop is highly resistant to staining, wear and heat. It is not, however, completely impervious to chemicals, scratches and hot objects.
Beauty Tips
How can you maintain the beauty of Formica® brand laminate for years?
Simply follow these easy care suggestions:
- Clean with dampened cloth or sponge, using mild soap or detergent.
- Place hot objects on hot pads or trivets, as temperatures over 275°F (135°C) will damage the surface.
- Do not use abrasive pads, cleaners or powders.
- Use a cutting board to avoid surface damage from knives or sharp implements.
- Use self-cleaning wax to help minimize staining.
- Do not hammer on countertop with hard objects.
- Cleaning
Formica brand laminate-clad countertops may be cleaned with a clean, non-abrasive, damp cotton cloth and a mild liquid detergent or household cleaner.
Heat Resistance
Avoid placing hot items on the countertop. Use a trivet or a hot pad.
Surface Care
Use a cutting board to avoid damaging surface.
Caution: Safety is your responsibility. Exercise care with tools when installing Formica® brand products.
Category
Related Articles


