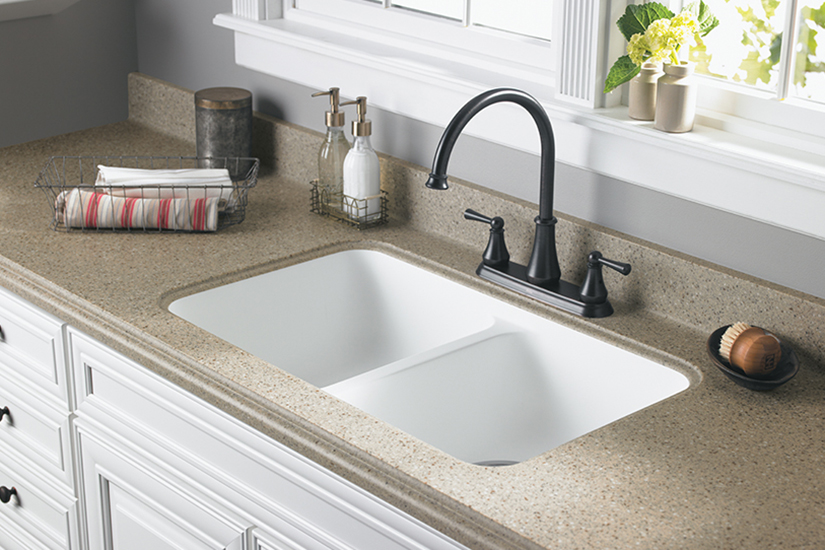
Proper Sink Installation for Formica® Laminates
Remodeling can be as stressful as it is rewarding. Let Formica® Brand guide your next kitchen or bath project with these simple steps to correctly install a sink in your countertop.
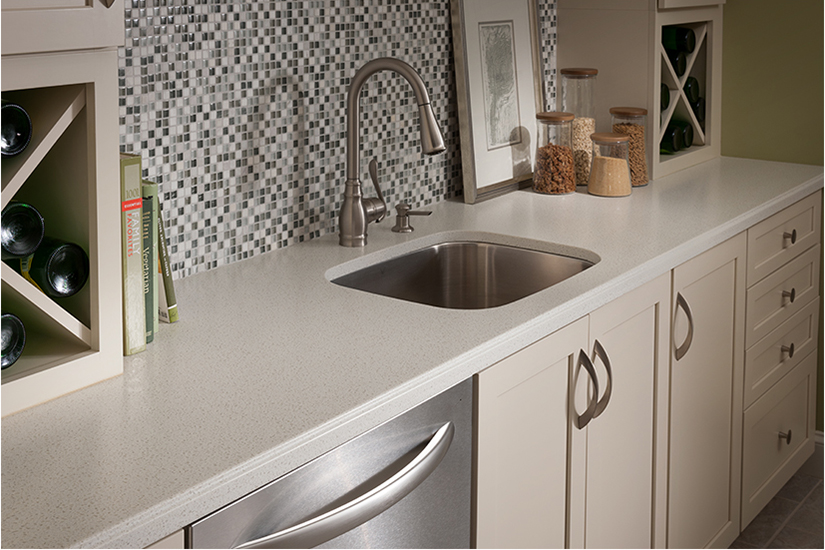
Formica® Laminate is a durable and functional surface suitable for any room of the home or commercial space. Formica® Laminate, when installed properly, can be used around sinks without any damage to the laminate. The step-by-step instructions below outline the proper tools and procedure to install a drop in (also known as top mount) sink.
Step 1: Obtain the proper tools
- Drill
- Drill bit
- Jig Saw
- Screwdrivers
- Waterproof Caulk and Caulk Gun
- Tape Measure
- Ruler
- Pencil
- Safety Glasses
- Gloves
Step 2: Measure and cut the hole for the sink
- Place the sink upside-down on the counter top where it is to be installed
- Place the sink upside-down on the counter top where it is to be installed
- Allow clearance on all sides of the sink
- Trace around the outside of the sink with a pencil
- Depending on the type of sink, determine where the cut line is inside of the traced outline
- Follow directions from the sink manufacturer
- Drill a hole on each corner of the cut lines
- Using a jigsaw, cut straight down the cut lines
Step 3: The most important- gluing and attaching the sink
- Apply a heavy bead of waterproof caulk along the entire edge of the hole for the sink
- Apply a heavy bead of waterproof caulk along the entire edge of the hole for the sink
- Drop in the sink and apply even pressure to each side
- Follow the instructions for sink installation and attachments from the sink manufacturer
- Remove any excess caulk
Proper sink installation is important to keep laminate looking great. Also be sure the right type of glue is used for applying laminate to MDF to make a countertop. A waterproof PVA or Contact Adhesive is recommended to keep edges sealed tight.
Formica Group has created videos on our YouTube channel to educate and inspire homeowners and professionals how to use Formica® Laminate.
Formica Group has created videos on our YouTube channel to educate and inspire homeowners and professionals how to use Formica® Laminate.
Featured Products
Category
Related Articles

Home Design


Home Design