Revitalize more than just your countertops!
Discover DIY ideas that you can make at home in just a few simple steps.
Here's a list of DIY projects that require simple tools, your favourite Formica® brand laminate and your desire to succeed:
- Make a table with the Formica® laminate of your choice
- Create a barn-style door with a Formica® woodgrain laminate
- Make cabinet inserts with Formica® Writable Surfaces
- Add an accent wall to a room by covering it with the Formica® laminate
- Cover an old table with the Formica® laminate
- Create a frame using a Formica® Writable Surface
- Install or replace your laminate countertop
Start these project using the information on this page: instructions and videos included. Our videos detail the steps to complete them.
Visit our DIY section for other information or check out our YouTube channel to watch product videos.

Here’s an overview of the steps to complete DIY projects with Formica® laminates. Read the full instructions here.
Tools and materials required:
• Your favourite Formica® laminate
• A jigsaw with fine-toothed blades
• A J-roller
• A router and a finishing cutter
• A fine-grained file
• Contact adhesive
• A brush, roller and/or trowel (refer to the adhesive’s instructions)
• Protective equipment: goggles, dust mask and gloves
• Wooden rods
• For some projects, you’ll also need particleboard cut to the right size
a. Measure the area to be covered carefully.
b. Be sure to cut surfaces 3/8" to ½" wider than the area to be covered.
c. Cut the laminate with the jigsaw using a fine-toothed blade. If necessary, cut the edge strips. Make sure they are larger (in length and width) than the surface to be covered. Wooden mouldings can also be used as edge bands.
Step 2: Assembly
Surfaces:
a. Apply the adhesive to the back of the laminate with the roller/brush/trowel according to the adhesive’s instructions.
b. Apply the adhesive to the main material (particle board or clean old surface).
c. Let the adhesive dry (follow the adhesive’s instructions).
d. Space the wooden rods 6" apart on the main material.
e. Place the laminate on top of the wooden rods.
f. Align the surfaces and slide the rods out, one at a time, starting at one end and working your way to the other.
g. Apply pressure immediately with the J-roller.
a. Apply the adhesive to the edge bands according to the adhesive's instructions.
b. Apply a layer of adhesive to the edge of the surface.
c. Glue the edge band to the material. Apply pressure with the J-roller.
Step 3: Finishing
a. Cut off excess laminate with the router and finishing cutter.
b. File the bands (corners) to level, eliminating sharp edges.
Read the full instructions here.
Project 1: Make a table or an office desk with the Formica® laminate of your choice
Matte texture 6306-58 Wenge Strand laminate desk
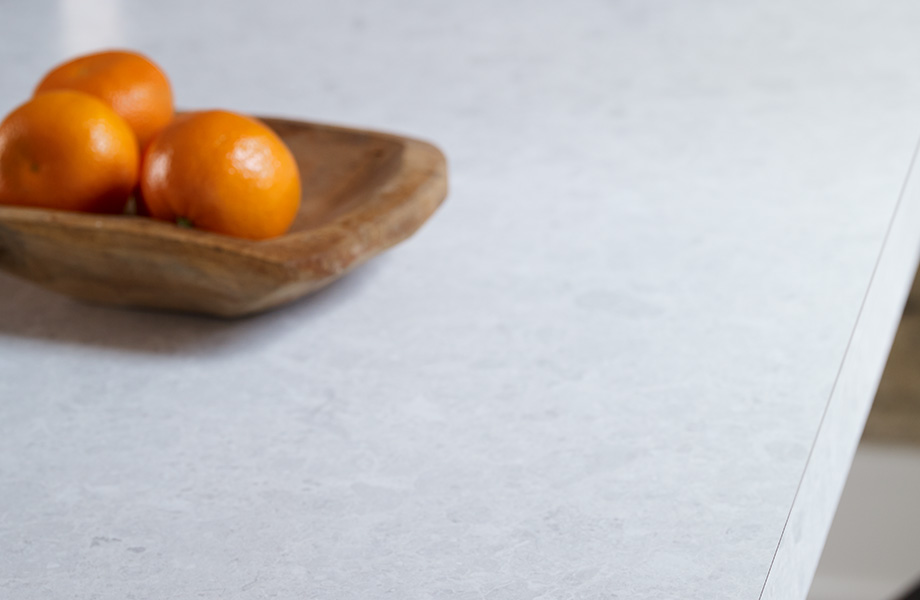
Watch videos detailing how to create your dream table:
How to make a table with the Formica® laminate of your choice
How to refurbish a worn table with the Formica® laminate of your choice
Project 2: Create a barn-style door with the Formica® woodgrain laminate of your choice
Natural Grain texture 9312-NG Planked Urban Oak laminate door
Watch a video detailing how to create a barn-style door:
How to make a unique barn door with your choice of Formica® laminates
Here’s an article that summarizes the steps to follow
Project 3: Make cabinet inserts with Formica® Writable Surfaces, or any other colour and type of Formica® laminate you like
Gloss texture 949-90 Formica® Writable Surfaces White laminate
Watch a video detailing how to create your ideal cabinets:
How to make laminate cabinet inserts
Project 4: Add an accent wall to a room by covering it with the Formica® laminate of your choice. A Writable Surface can be practical in a playroom or child’s room!
Scovato™ texture 9534-34 Sea Pearl laminate wall
Watch a video detailing how to create the wall you always wanted:
How to cover a wall with Writable Surfaces or any other Formica® laminate of your choice
Project 5: Cover an old table with the Formica® laminate of your choice
Monolith texture 9918-ML Breccia Mojave laminate table
Watch a video detailing how to create your dream table:
How to refurbish a worn table with the Formica® laminate of your choice
Project 6: Create a frame using a Formica® Writable Surface
Chalkboard texture 3037-CK ChalkAble Black Laminate
Watch a video detailing how to create your own frame:
How to make a frame with Formica® Writable Surfaces
Project 7: Install or replace your laminate countertop with the material of your choice
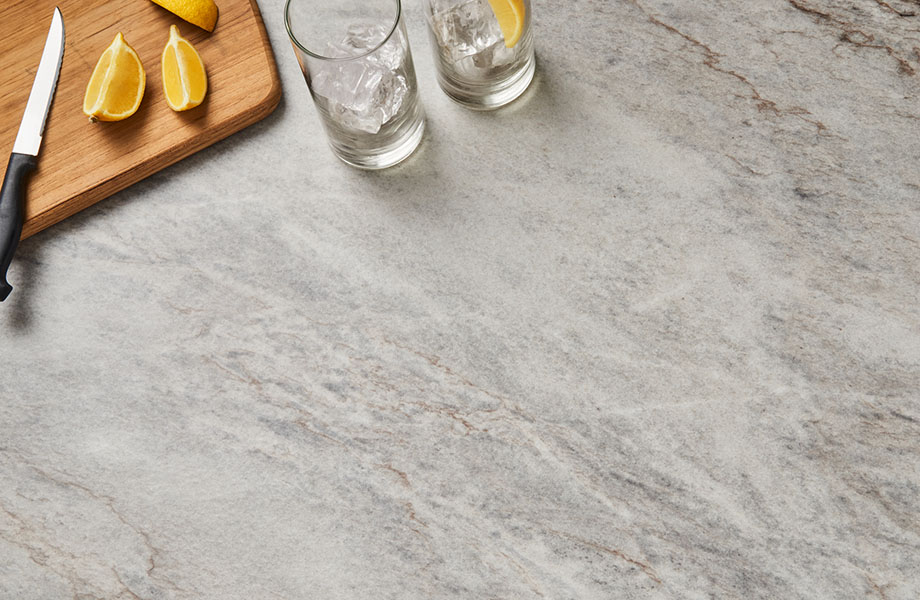
Watch a video detailing how to install a countertop:
How to install a laminate countertop and drop-in sink
Here’s a guide to help you complete this project
Want more DIY projects? You can visit our DIY section or check out our YouTube channel for more videos.