Inspiration
Biophilic Designs to Promote Peace of Mind
April 8, 2026
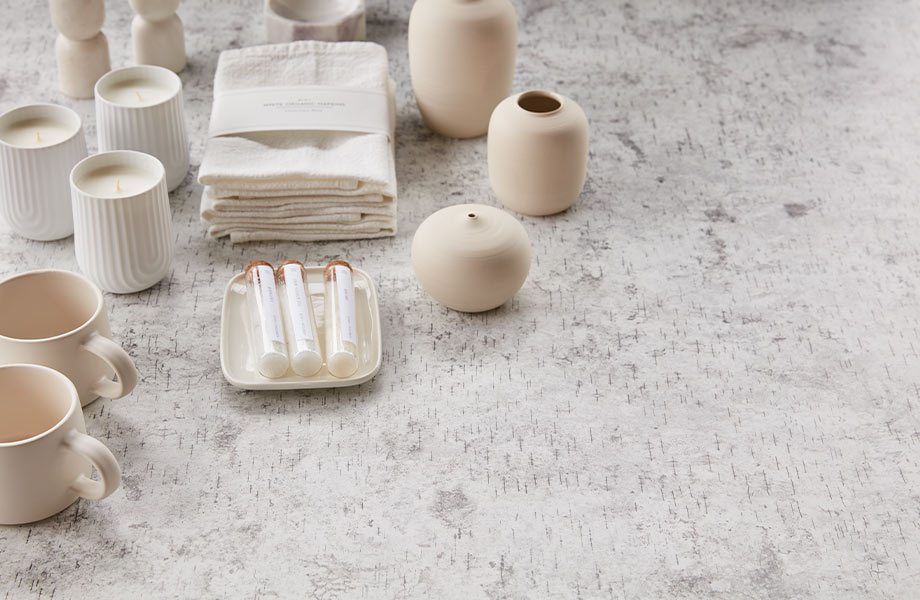
Nature-Inspired Colour, Texture and Stone Patterns That Create Calming Interior Spaces

2014
Installing laminate countertops is easier than you might think, especially with preformed models. When it comes to kitchen remodeling, installing your own countertop is an opportunity for self-expression – and money savings. To help you do the job efficiently and with style, we’ve listed the nine simple steps for installing your new countertop, as well as all the essential materials you will need.
Discover our 9 Simple Steps to Install a Preformed Countertop! Read on, or download our PDF guide of the information on this page.
Materials RequiredHere are some essentials for a typical L-shaped kitchen countertop with a cutout for a sink or rangetop installation:
Countertop sections; order standard lengths. Your dealer should be able to miter cut and machine the fastening-bolt T-slots (underside of the joint).
Fastening bolts (for drawing miter joints tight)
Tube of sealant (for caulking joints)
End splash and/or end caps (kits, as required). These should be available from your dealer.
Non-flammable contact adhesive (for fastening end caps, unless kit has pre-applied adhesive for "iron-on" method)
White glue (for fastening "build-up" blocks)
Tools Required:
Jig Saw
Drill and Drill Bit
Block Plane
Belt Sander
Smooth File
Hand Laminate Trimmer with carbide cutter
C-Clamps (for holding "build-up" blocks and end caps or splash to glue and screw)
Safety Glasses
Tape Measure
Rubber Mallet
Level
Square
Hammer
Handsaw
J-Roller
Scriber-Compass
Adjustable Wrench
Screwdriver
Sandpaper
Caulk Gun
Heat-Conductive Aluminum Tape

If the update you envision goes beyond the little things, here are a few more tips for your remodel:
Some things are better left alone. If you want to change the floor plan, be sure to consider what’s behind the walls and under the floors before you begin. It’s much less expensive to keep the plumbing where it is. And for older homes, it may be more trouble than it’s worth to remove wall or floor tiles if they were installed on an old-style concrete bed.
Cabinetry. To save cash, consider re-facing existing cabinetry instead of buying new ones. Or look for stock, off-the-shelve products instead of custom building. If your bathroom is small, you can gain space by recessing a storage cabinet into the wall between the wall studs.
Vanity. Your bathroom sink and countertops don’t have to cost an arm and a leg. You can have the look of natural stone and even an undermount sink at a fraction of the cost of real stone by choosing laminate surfacing. Solid surfacing is another less expensive option that gives you a seamless look and allows for an integrated sink and backsplash. Read more about bathroom vanity top options.
Plan Where to Splurge, Where to Save
Before you begin your remodel, decide your priorities. You can easily spend $1,000 or more on a luxury whirlpool tub or heated floor. Plan to spend more on your must-haves and save in other ways with some of the ideas above.
Ready to start your bathroom remodel? Get inspired on Houzz.
Check out our entire line of laminates.
Inspiration
April 8, 2026
Nature-Inspired Colour, Texture and Stone Patterns That Create Calming Interior Spaces

Inspiration
March 6, 2026
Designing Healing Healthcare Spaces with Homapal® Metal Laminates for Beauty, Durability and Comfort

Inspiration
January 22, 2026
Turning Laminate Scrap into Art, Pattern and Personal Connection